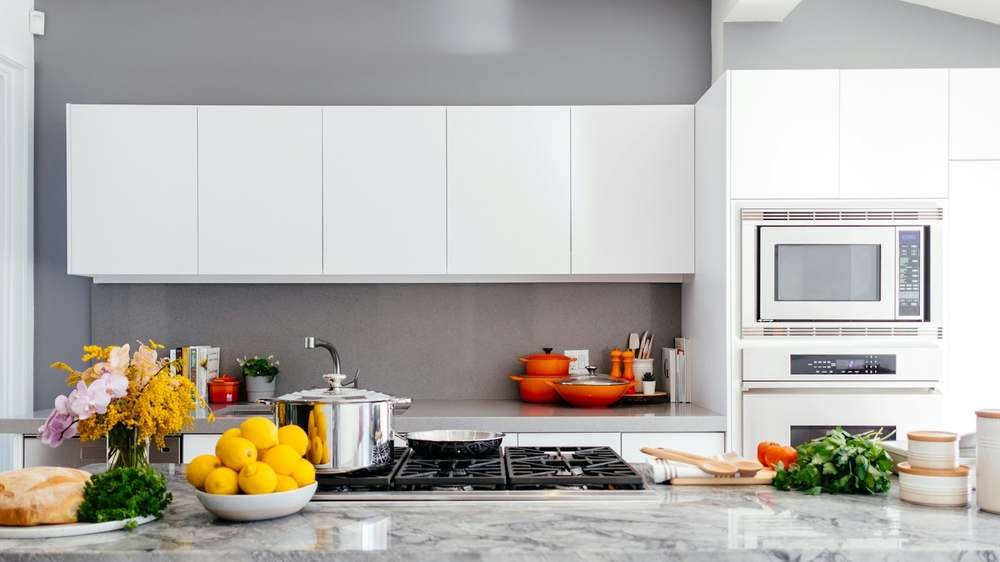
Most kitchens in apartments under 60 square metres have the same problem, and it is not a lack of storage. It is that the storage you already have is being used at roughly two-thirds efficiency.
An average base cabinet is 60 cm deep, 72 cm high and 60 cm wide. That is 259 litres of internal volume. A typical household fills it with about 90 litres of actual things. The rest is air you are paying rent on.
I have run this audit in fourteen rental kitchens over the past two years. The pattern is remarkably consistent: after the audit alone — without buying anything — people recover enough usable space that the counter stays clear for at least three months. The ones who buy containers first usually end up with containers in a cupboard, unused.
This guide takes one afternoon and costs nothing. Container decisions come at the end, and in most kitchens the answer is "none".
What you will need
- A tape measure (any length over 1 m)
- Masking tape and a marker
- Three large bags or boxes for sorting
- A notebook, or the printable sheet at the end
No drill, no tools, no purchases.
Step one: measure the real depth, not the nominal depth
Open every base cabinet and put your hand flat against the back wall. In most kitchens, the back 15 cm is unreachable — blocked by the door frame, the hinge swing, or simply the geometry of your arm reaching past a shelf.
That dead zone is where forgotten items live: the pan bought for one recipe, the second colander, the cake tin from 2019.
The fix: measure each cabinet from the inside of the door to the back wall, then subtract 15 cm. That is your usable depth. Write it on a piece of tape inside the door. Every future purchase must fit inside that number.
A 60 cm cabinet with a 15 cm dead zone has 45 cm of usable depth. If you install pull-out runners, usable depth drops to about 40 cm because the runners need clearance — but you gain access to 100% of the space instead of the front 60%. That trade is almost always worth it.
Step two: divide the height into three zones
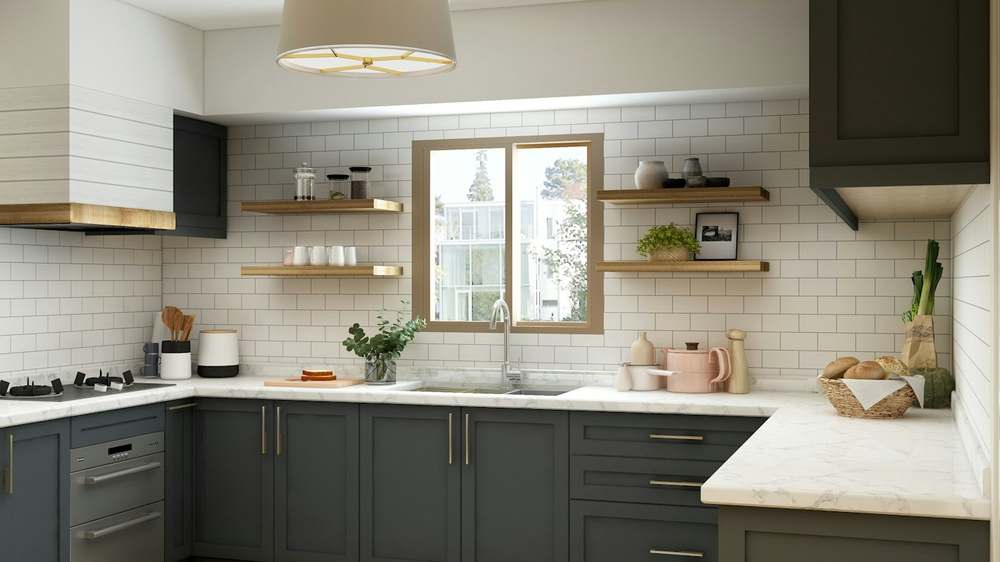
A 72 cm base cabinet divides naturally into three zones, and each has a different job.
| Zone | Height from floor | What belongs there | Why |
|---|---|---|---|
| Bottom | 0–25 cm | Heavy, rarely used: stock pots, bulk buys, spare appliances | You bend to reach, so weight is fine and frequency is not |
| Middle | 25–50 cm | Daily use — plates, pans, cooking tools | The prime zone: no bending, no stretching |
| Top | 50–72 cm | Light, weekly use: baking trays, spare containers | Requires looking down into the cabinet |
Most households get this exactly backwards. Daily items end up in the top zone because that is where the shelf happens to be, and heavy pans sit in the middle because they fit.
The two-minute test: stand in front of the cabinet and ask what do I reach for most often? If the answer is not in the middle zone, the cabinet is mis-sorted. Moving items between zones costs nothing and usually produces the single biggest improvement in how the kitchen feels.
Older base cabinets often have one fixed shelf. Adding a second at 25 cm from the floor roughly doubles the accessible surface area for the cost of four shelf pins and a piece of board.
Step three: find the volume you already own but cannot use
There are four locations in almost every small kitchen that are structurally empty. None of them require drilling.
The dead strip at the back of the top cabinet
Above eye level, behind the front row of glasses or mugs, there is typically 15–20 cm of depth that is simply never used. A two-tier riser — a stepped shelf that sits on the existing shelf — converts one layer into two for about $12.
The gap beside the fridge
Usually 5–10 cm wide. This is enough for a narrow pull-out trolley, which holds spices, oils, and cleaning bottles. These units exist specifically for this gap and cost $20–40.
Under the sink
Blocked by the drain pipe and the U-bend. Most people dump cleaning products in front of the pipe and lose the back half of the cabinet permanently. A U-shaped shelf that fits around the pipe, or a tension rod with hanging baskets, recovers roughly 30 litres.
Above the fridge and above wall cabinets
If there is a cabinet above the fridge, the space between it and the ceiling is typically 30–40 cm of nothing. The same applies above wall-mounted cabinets, though that space is visible and therefore a design decision rather than a purely functional one.
Add these four together and you recover approximately 80–120 litres — comparable to an entire extra base cabinet, for under $80 total.
Step four: sort by frequency, not by category
This is the step people skip, and it is the reason organised kitchens fall apart.
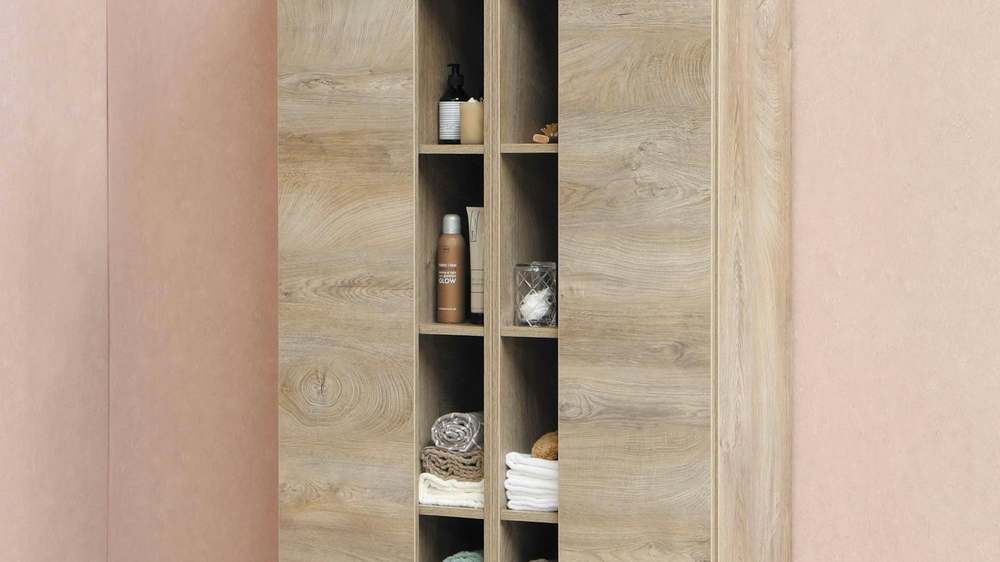
Most people sort by category: all the baking things together, all the pans together, all the Tupperware together. That produces cupboards that make sense on paper and are annoying in practice, because the thing you need six times a day is behind the thing you need twice a month.
Sort into three piles instead:
- Daily — used at least four times a week. These go in the middle zone, front row, at hand height.
- Weekly — used one to three times a week. Middle zone back row, or top zone front.
- Occasional — once a month or less. Bottom zone, top zone back, or out of the kitchen entirely.
The last category is usually larger than people expect. A typical kitchen has 40–60 items, of which only 12 or so are genuinely daily. Anything used less than monthly is a candidate for storage outside the kitchen — a hall cupboard, a storage box under the bed, or the top of a wardrobe.
Step five: decide whether you need anything at all
Only now — after measuring, zoning, recovering hidden volume, and sorting by frequency — should you consider buying anything.
In the fourteen kitchens I audited, the breakdown was:
| Outcome | Count |
|---|---|
| Nothing needed; rearrangement alone fixed it | 6 |
| One pull-out drawer for the deepest cabinet | 5 |
| One riser plus one pull-out | 2 |
| Full container system | 1 |
That last kitchen was a 4 m² galley with one narrow cabinet, where the contents genuinely did not fit in the available volume. Everyone else solved it with what they already had.
If you do need something, the two purchases with the highest return are:
A pull-out drawer for the deepest base cabinet. Converts 60% access into 100%. About $30–60 per cabinet, and it is the only change that fundamentally alters how a deep cabinet works.
A two-tier riser for the top shelf. Turns a single layer into two. About $10–15. The cheapest capacity you will ever buy.
Everything else — matching jars, uniform containers, label makers — is aesthetics. There is nothing wrong with aesthetics, but it is not the bottleneck, and buying it first is the most common mistake in kitchen organising.
What to do about the counter itself
Once the cabinets work, the counter clears itself. But there is one category that genuinely belongs on the counter and always will: things used more than ten times a day.
In most kitchens that is: the coffee machine, the kettle, a knife block, and the cooking oil. That is the entire list, in most homes.
Everything else on the counter is there because its cabinet home is inconvenient. The rule:
If an item has been on the counter for two weeks and you have not used it daily, it goes back in a cabinet. If it cannot go back because the cabinet is full, the cabinet needs the audit above — not another shelf on the counter.
One exception worth allowing: a single tray or bowl that collects keys, post and charging cables. Fighting the "landing zone" instinct is a losing battle, so contain it instead of eliminating it.
A realistic time budget
| Task | Time |
|---|---|
| Empty all base cabinets onto the floor | 45 min |
| Measure and tape depths | 20 min |
| Sort into three frequency piles | 40 min |
| Reinstall in the new arrangement | 60 min |
| Discard / donate run | 30 min |
Just over three hours, one afternoon, and zero purchases required for the first pass. Container decisions can wait until the following week, when you have actual measurements and an empty spot to fill.
The printable audit sheet
Copy this into a notebook, one block per cabinet.
CABINET #____   Width ____ cm

Depth at door:      ____ cm
Depth at back:      ____ cm
Usable depth:       ____ cm   (measured minus 15)

Fixed shelves:      ____
Shelves to add:     ____

ZONE 1 (0–25 cm)  holds: ______________________
ZONE 2 (25–50 cm) holds: ______________________
ZONE 3 (50–72 cm) holds: ______________________

Items removed from kitchen entirely: __________
Items to buy (only if needed): ________________
Fill this in for every cabinet before touching anything. The written plan is what stops the audit turning into a reshuffle that undoes itself by Friday.
Why this works when "just tidy up" does not
Tidying is an aesthetic act. It moves things until the cupboard looks acceptable, which is a visual target, not a functional one.
This audit is a measurement act. It establishes how much space exists, where it is reachable, and what frequency of use each zone should serve. The arrangement follows from those numbers.
That is why it survives. Arrangements derived from measurements tend to hold because every item has a place that is justified by reach and frequency, not by whether it fitted at the time.
If your kitchen is genuinely too small
A minority of small kitchens are not badly organised — they are under-equipped. Signals that this is the case:
- You measured, sorted, and still cannot close the doors
- There is no wall space at all for any vertical storage
- The kitchen is a corridor with under 1.2 m between counters
In that situation the answer is not better containers; it is a freestanding unit in an adjacent room, or accepting that the kitchen holds only daily items and everything else lives elsewhere. That is a limitation of the flat, not a failure of your system.
The audit above still applies — it just tells you honestly how much capacity you have, which is the first step to working within it.