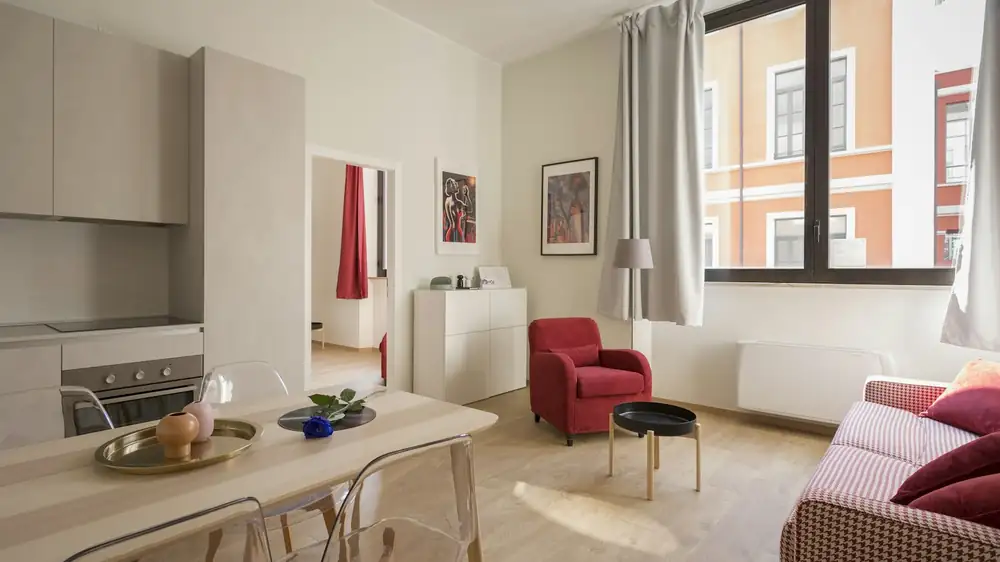
Moving day is chaotic, and the things that matter most are the ones it is easiest to skip: meter readings, dated photographs, and knowing where the stopcock is.
These take two hours in total. Skipping them costs money, and sometimes safety.
Day one, hour one: before the boxes come in
Do this before anything is carried in. It is the only time the flat is empty, and empty is what makes the photographs useful.
1. Meter readings. Gas, electricity, water. Photograph each meter with the reading visible, and email the photos to yourself (which timestamps them).
Why: the previous tenant's usage becomes your bill otherwise. This is the single most common avoidable cost when moving in.
2. Photograph every room. Four walls, ceiling, floor, and every appliance. Not one photo per room — one photo per wall section.
Why: deposit disputes are decided on evidence. A dated photograph of a pre-existing mark is conclusive; without it, it is assumed to be yours.
3. Test every appliance while the flat is empty. Boiler and radiators, oven, hob, extractor, fridge, washing machine, shower, every tap.
Why: reporting a fault on day one means the landlord pays. Reporting it on day thirty means it is a debate, and sometimes a deposit deduction.
4. Find the stopcock, fuse box, and gas shutoff. Photograph them. Label them if unclear.
Why: a leak at 2am with no idea where the stopcock is turns a small problem into a flood through the flat below.
5. Count the keys and test every lock. Front door, back door, windows if they lock, any cupboard keys mentioned in the inventory.
Day one, hour two: the essentials
Set up four things before unpacking anything else.
| Item | Why first |
|---|---|
| Bed, made | You will be exhausted, and an unmade bed at 11pm is miserable |
| Bathroom (toiletries, towel, toilet roll, shower curtain) | Non-negotiable |
| One kitchen corner (kettle, mugs, one pan, cutlery, plates) | Lets you eat and drink |
| Phone charging point identified and set up | Everything else depends on a working phone |
Everything else stays in boxes, stacked against one wall, in the room they belong to. Not spread out. Not "to sort later" in the middle of the floor.
Day one, evening: the checks that need darkness
Two things are only checkable after dark:
1. Heating. Turn the heating on and check every radiator heats fully, top to bottom. A radiator that is hot at the bottom and cold at the top needs bleeding; one that is cold throughout may be a boiler or valve problem.
2. External lighting and security. Check the front door lock works smoothly, the outside light works, and any window locks function.
Why at night: a radiator problem is invisible in summer, and a lock problem is easier to assess when you are thinking about security.

Day two, morning: the paperwork
1. Read the inventory properly. Compare it against your photographs. Note every discrepancy in writing — a mark not listed, an item listed that is not there, a condition described generously.
Email the discrepancies to the landlord or agent the same day. A polite email listing four differences establishes that you checked, which changes the tone of the end-of-tenancy conversation entirely.
2. Confirm how to report repairs. In writing. Who do you contact, by what method, and what is the response time in the tenancy agreement?
3. Check the tenancy for three specific clauses:
| Clause | Why it matters |
|---|---|
| Professional cleaning requirement | You may be paying for something not required |
| Decorating permission | What you can and cannot change |
| Guest / sublet rules | Practical, and sometimes enforced |
4. Set up utilities in your name, with the day-one meter readings as the starting point.
Day two, afternoon: the practical setup
1. Find the bins. Which bin, which day, what goes where. Getting this wrong on week one means a fortnight of accumulated rubbish in a small flat.
2. Test the internet. If it is included, check the speed against what was promised. If you are installing, book it now — installation lead times are often two weeks.
3. Locate the nearest three things: supermarket, pharmacy, and a hardware shop. The hardware shop matters more than people expect in the first month.
4. Check the smoke alarms. Press the test button on each. If they do not work, that is a landlord obligation, and it should be reported the same day.
The deposit-protection checklist
These are the things that decide whether you get the deposit back, all done in the first 48 hours:
[ ] Meter readings photographed and emailed to yourself
[ ] Every wall section photographed
[ ] Every floor photographed (including under where furniture will go)
[ ] Every appliance photographed, inside and out
[ ] Existing damage photographed close up
[ ] Inventory discrepancies noted and emailed
[ ] Paint colour identified (ask, or photograph a sample)
[ ] Report any faults in writing on day one
[ ] Note what the inventory says about cleaning
The paint colour question is worth asking on day one. Most landlords know, or have a tin. Matching paint makes every future wall repair invisible, and invisible repairs are what protect a deposit.
The three mistakes people make
1. Unpacking before photographing. Once the boxes are in, half the walls and floors are inaccessible. The photographs become useless for the exact areas most likely to be disputed.
2. Reporting faults verbally. "I mentioned it to the agent" is not evidence. Email, same day.
3. Assuming the previous tenant left everything fine. Boilers, extractors and washing machines frequently fail within the first month because they were already failing when you arrived. Reporting early means the landlord pays; reporting late means a debate.
The hardware shop list
Buy these in the first 48 hours. They cost about $60 and they prevent the most common small problems:
| Item | Use |
|---|---|
| Tape measure (5 m) | Everything |
| Screwdriver set | Flat-pack assembly, tightening |
| Adjustable spanner | Radiator valves, plumbing |
| Assorted picture hooks | Hanging without damage |
| Filler and a scraper | Filling holes |
| Touch-up paint (colour matched) | Wall repairs |
| Torch | Fuse box, under furniture |
| Spare bulbs | The right fitting for each room |
| Plunger | Sinks block in the first month, reliably |
The plunger is not a joke. Kitchen and bathroom sinks block within weeks in a new flat, usually from debris in the trap that was there before you moved in.
The honest summary
The first 48 hours are worth about two hours of deliberate work, and they determine two things: whether the flat is liveable immediately, and whether you get the deposit back.
The single most valuable action is photographing the empty flat. Everything else is recoverable; that is not — once the furniture is in, the evidence is gone.
The second most valuable is emailing the inventory discrepancies on day one. It costs ten minutes and it changes the entire end-of-tenancy conversation from defence to record.